
8 Indoor Photography ideas to get your through the winter
Indoor photography can be a great way to keep creative during those cold and rainy months. Most indoor photography is cheap (or free!) and loads of fun. Keep your creativity flowing with these 8 indoor photography projects.
1 — Cloning yourself (or anything!)
This is an oldie but a goodie, and with a bit of imagination you can make this tried and true technique fresh again. This one needs a little bit of photo editing knowledge, but plenty of other techniques on this list don’t. It’s a great opportunity to learn how layers work in Photoshop if you haven’t tried it out yet. You will need:-
Camera
Tripod
Photoshop/Gimp or similar
Technique
You set your scene. You set up your camera, and if you’re photographing yourself, you set a timer. Then off you go — quick! — get into the scene. Strike a pose in a number of different places, taking a photo each time. Then, either at the beginning or the end, you must make sure you take a photo of the empty scene. Boom! You’ve captured your footage. That wasn’t so hard no was it?
Tips!
Make sure you use manual settings and manual focus and once it is set, you don’t change a thing. If the focus changes between images they won’t merge together in post production.
Make sure you take a photo of the empty room either at the beginning or the end, with the exact same focus as the rest of the images. This will make merging the images much more easy.
Be mindful of where your subjects might overlap. If at all possible, make sure each clone doesn’t overlap another clone. It is possible to have them overlap, it just takes a bit more fiddling in post production. So it all depends on how much work you want to put in later.
Keep the lighting in the room the same throughout. If you’re using daylight, shoot quick so the light doesn’t change too much.


Editing
Layer up your images in your editor of choice. Start with the base layer, and work up. If your clones don’t overlap, then you don’t need to worry about the order too much, but if they do overlap, and one is “in front of the other” then stack the images starting from the back and working forwards.
Now comes the slightly time consuming part. You erase sections of each image until the clones are all in the same scene. This can be relatively fast if your clones are all separate, or take a little while if your clones overlap. It can be confusing at first, figuring the order of the layers if they overlap, but once you’ve done this technique once it’ll be much faster going forward.
Bonus tip! Also works with animals if you can get them to sit still long enough.
Bonus tip! It… it works with anything really! You could fill your shelf with 20 of the same camera!
Bonus tip! You can use this same technique to bodyswap people. You just need to friends who don’t mind switching clothes! (See the example. One of the funniest photos I think I’ve ever taken. Get them to imitate one another for added comedic effect.)
And you can be as creative as you like with this. Add in as many clones as you can, have them all tidying up. The only limit is your imagination.


2 — Bokeh Party
Save your Christmas lights and put them to good use. This is a great technique for product shots, but can also be used really effectively for portraits too. The technique will stay the same. You will need:-
Camera
Cool subjects to shoot
Christmas lights or similar
Somewhere to hang your lights
Quite a long space to shoot
A longer lens, bonus points if fast
Setup
Bokeh becomes extra bokeh-y (yes I’m sure that’s a word) when the distance between the lights and the subject is decent. This is why you need a long space to shoot. The first time I used this technique, I put my subjects on a kitchen side and shot through into the dining room. The second time I did this, I shot down my hallway, with a table in the middle for my subject.
So you want plenty of space — several feet — between your Christmas lights and your subject.
The other way that you enhance the bokeh is by taking advantage of the barrel compression with a longer focal length. Use your longer lenses to get the biggest juiciest bokeh balls. And you want to shoot as close to the subject as you can to really compress the background.
So. Shoot with a long lens, close to your subject. The lights in the background will be as far away as possible. Use those two techniques and you’ll get some epic bokeh. Bonus points if your lens is fast. Shoot at the widest aperture your lens will allow.
I put my subject on a wicker chair in the middle of my hall. I had a bedsheet hooked over two light-stands at the end of my hall, and I draped the lights all over it. Use whatever you have. You can drape them over a wall, or door, or curtains… anything really. The background should be mostly out of focus so it shouldn’t matter too much so long as the background is relatively similar throughout, like a wall, a curtain, or a bedsheet.


Editing
These photos will look pretty good straight from the camera so no fancy editing required! Just do your usual editing — contrast, saturation, etc — and you’ll get lovely images.
Bokeh is brilliant for everything. For people, animals, products, abstracts projects… everything. Try whatever you have around the house it’s really cool.


old photo! So old I was shooting Sony omg
3 — New profile photos — levitating camera
This is a similar technique to the cloning. I know the photo example here is set outdoors but this will work just as effectively inside. You will need:-
Camera x2
Tripod
Light stand or second tripod
This is a composite of two images. Just like with cloning, we want to keep all the settings and lighting the same, and shoot in manual focus mode.
Take the first image. Strike a pose next to the camera on the light stand, which screwed into the bottom just like a tripod. You can sell the image better by putting the levitating camera at a jaunty angle. Take the photo using a timer if it’s a selfie.
The second photo, remove the light stand / tripod out of the frame and take an image of the empty frame. Again, keep everything the same. Keep the focus the same as the first image, even if that makes the background image out of focus. The focus needs to match in both images for this to work.
Editing
Stack both images in your software with the empty frame below. Erase the light stand from the top frame, revealing the empty background below. It should be very simple and seamless so long as the lighting and focus didn’t change too much. You can help sell it but using a smooth, feathered brush. If the exposure of the images isn’t quite right you can match them using the curves setting.
Combine both images and da dah! You have a super cool levitation photo. From here you can edit further, adding colour grading in Lightroom or Luminar, or you can call it a day here. Also… maybe pick a better background that I did!


4 — Smoke photography
Smoke photography can be really interesting. You get quite an abstract result. You’ll need:-
Camera
Some incense and incense holder
Matches
A black backdrop
An off-camera flashgun or strong light
Quite like the Bokeh technique, we ideally want to use a longer lens and have the black backdrop some distance away. This isn’t essential but you’ll get the best results this way, because it’ll isolate the smoke better.
Now, it really is a case of lighting the incense and going wild, to be honest. The only tricky thing really is the lighting. To make the smoke show up, you’re going to want to side light the smoke. You can do this either by using a flashgun off camera, or a strong neutral light.
Tip! Experiment with movement in the smoke, blow it around or use a fan for different outcomes.
Editing will be very simple, as it’ll look quite good in camera. You can use an adjustment brush to pull out the details of the smoke.
Tip! You could pair this technique with a product for some original product photography.


5 — Mirror Photography
This is a brilliantly effective style! I need to do more of this, I absolutely love the results. It’s great for Instagram, youtube thumbnails, and fancy product shots! You will need:-
Camera
A mirror
A black backdrop (or white would work too)
An off-camera flashgun, or a strong light
Again, a longer lens with a fast aperture will work best. And you’ll want the black backdrop as far away as you can manage. Set your objects onto the mirror, and once again we’re going to want to side light the subject so that not much light hits the black backdrop. You can side-light with either a strong, diffused light, or an off-camera flash.
Portrait shots look especially effective with this technique, but experiment. The reflection is eye catching and will set your work apart. Great for products, or special items, or anything you can think of really!
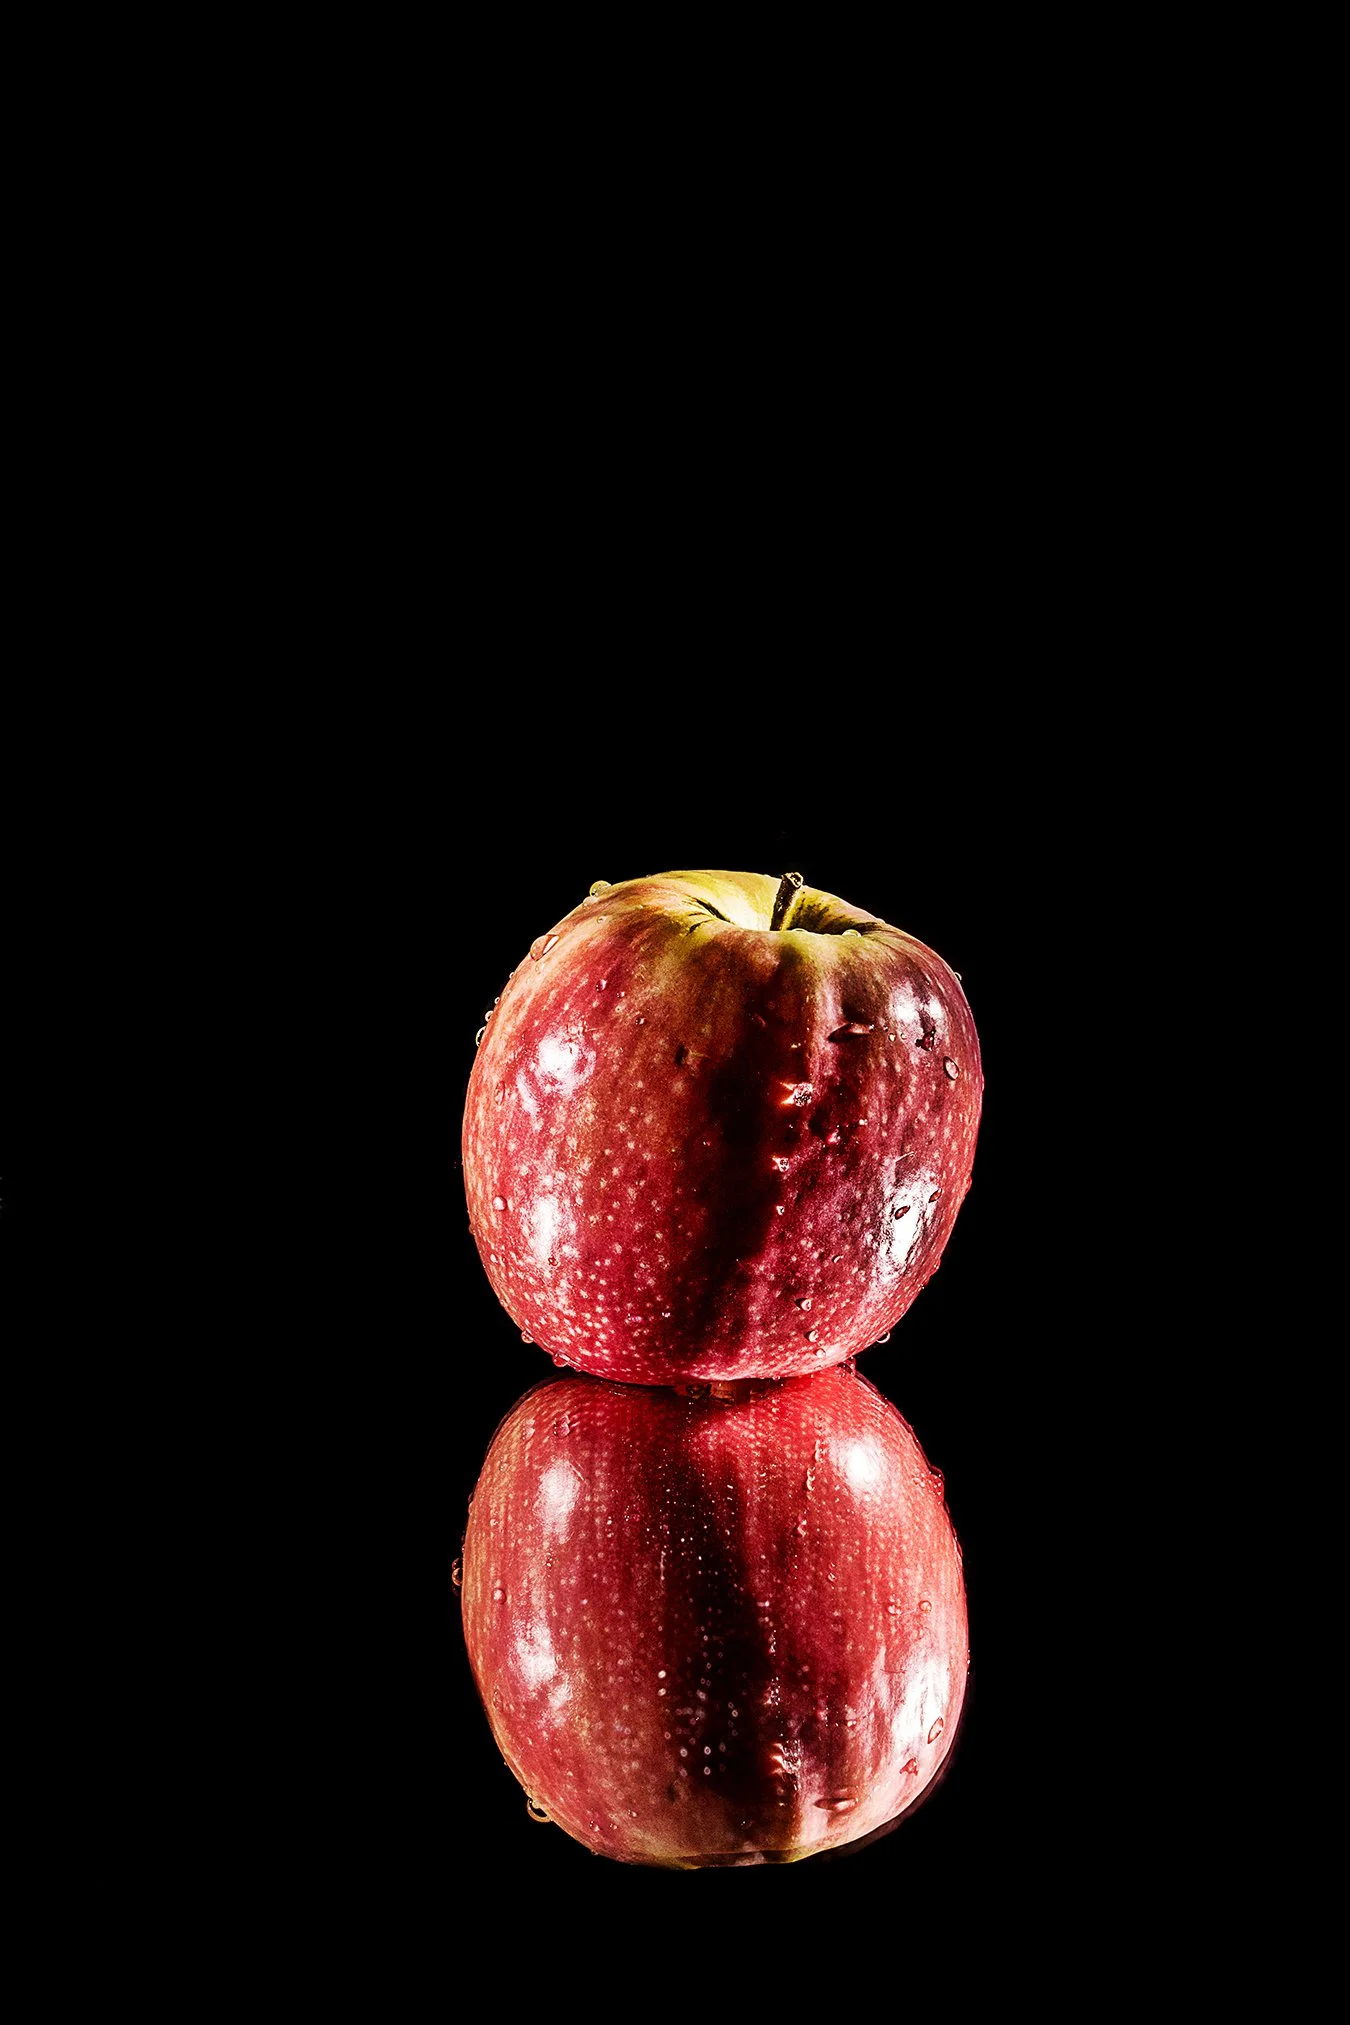


Editing
Some light photoshopping to get rid of any dust on the mirror, or any patterns in the glass (use a plain mirror and not a mosaic one like me!)
You’re going to want to emphasise the reflection, and try to remove as much of the background as possible by making it pure black (or pure white if you went for a white backdrop).


6 — Abstract — Oil and Water
This one is a bit bonkers. I’m not really sure what you’d do with these images? But I enjoyed doing it anyway! Oil and water. You’ll need:-
Camera
Glass casserole dish with flat bottom
A larger phone or iPad
Books or similar to elevate the dish
Cooking oil or washing up liquid
Water
Here’s the deal. You prop the dish up with books, with a gap in the middle. You pour some water and oil into the dish and give it a good old swirl around. On your iPad or phone, you google a colour gradient. Go wild with this, try a few different things, I like the bold colours. Make the image full screen on your iPad and turn the brightness up to 100%. Slide the phone underneath the dish. You want it close enough to illuminate the oil and water.
Take some weird photos! Try different images on your phone to get different effects. Try moving the oil and water around to get different patterns.


7 — Macro Photography
This is a great style of photography for an indoor project. I’ve left this until last as it’s the only one on this list that really needs a specialist sort of lens. You’ll need:-
A camera
A macro lens
Lots of light!
Possibly duct tape?
Possibly a tripod
More light!
Lots of cool subjects
Matches if you want to follow my examples
Tip: if you don’t have a macro lens (they can be expensive!) The best of the bunch in the micro four thirds world has to be the Olympus 60mm f2.8 macro, but if you don’t want to splash out, you can research reverse mounting one of your prime lenses. I won’t go into it in any more detail here, but give it a google. You can mount some prime lenses backwards (usually the 25mm ones) with a very cheap adapter. And that will give you macro effects on the cheap.
Anyway. Macro photography! You’ll need lots of light. Because macro is one of the few styles of photography where shooting wide open isn’t always the best approach. Because your subjects are so tiny small, the field of focus is soooo narrow wide open, you often need to stop down your lens to f8 or similar. This lets less light into your lens, so you’ll need to add some back in.
I love the ring flashes. They attach to your lens, and are pretty affordable.
But any lights will do.
Tripods will help you to keep steady and to find focus.
For the matches, I duct taped the match box down onto a table and set my focus with my camera on a tripod. Then with one hand I struck the matches, and the other I held the shutter down in burst mode. Hit and wish sometimes works best for macro.
The great thing about macro is the most mundane objects can become so interesting when you shoot them up close. Coins, keyboards, old cameras, matches, insects, water droplets… anything! Think outside the box. You can get some awesome results!


9 — Light Painting
This is so much fun, and you can get so creative with it. You can make awesome Instagram photos, product photos, or just do something a bit out of the ordinary. You’ll need:-
Camera
Tripod
Cool subjects
Lights — phone, led lights, torch, coloured lights, etc. anything goes!
(optional) a backdrop
(optional for some of these examples) a mirror
Mirrors work awesome with this effect too, because the lights get reflected and it can help illuminate the subject as well as create some cool patterns.
The general way to do this is set your camera up on a tripod, and in manual mode set a long exposure. It can take a while to get the settings just right, but a few experiments either side of 10 seconds should be a great starting point. You want to set your focus on your subject and then switch to manual focus. Lock everything down. Then you’re going to want to get your light source at the ready. Set a timer before the image begins to give you some time. Turn off or dim the lights (experiment what works best), then get painting.
Tip: if you keep moving you won’t show up in the images but dark clothing certainly won’t hurt.
Tip: little finger LED lights, which are usually on sale around bonfire night, are super cheap and great for this. I always keep a few in my bag.
So flail your arms, use different styles of lights. different colours. Play around, you can get some really cool results!


So there we are, there are some of my favourite indoor photography projects that I’ve tried over the years. Hope you found it helpful!